Use a ceramic mug, leather belt, or newspaper to restore a sharp edge.
If you ever wondered how to sharpen a knife without a sharpener, you’re in the right place. I’ve kept knives working in home kitchens, on camping trips, and in busy prep lines using simple items most people already own. In this guide, I’ll show you clear, safe, and repeatable methods that turn everyday objects into effective sharpening tools, so you can get back to slicing with confidence.
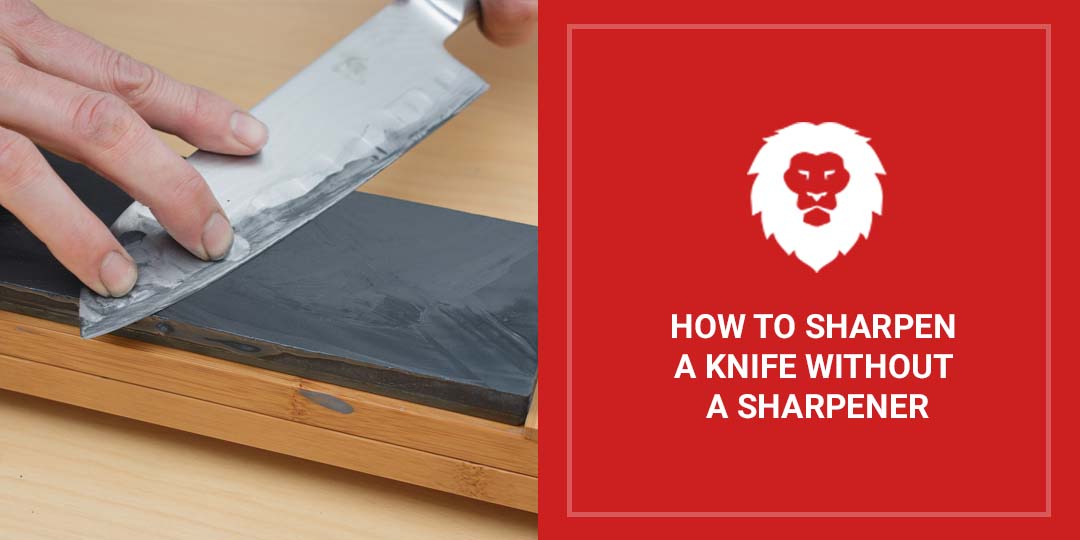
How a blade gets sharp without a tool
Sharpness is about two things: a clean apex and aligned steel. Sharpening removes a tiny bit of metal to form a new edge. Honing straightens the edge you already have.
Most kitchen knives like a 15–20 degree angle per side. Keep it steady. Use light, even strokes. Raise a small burr on one side, then switch sides. Deburr at the end on a smooth surface like leather or cardboard.
Steel is harder than many surfaces, but ceramics, fine stone, and certain papers use tiny abrasives. These abrasives scratch steel at a micro level. That is how everyday items can help you sharpen.

Safety first and setup
A sharp edge is safer than a dull one, but the process still needs care.
- Work on a dry, steady surface. Lay down a damp towel under your “stone” so it does not slip.
- Keep fingers above the spine, away from the edge.
- Use slow, controlled strokes. Do not rush.
- Wipe the blade between steps. Metal dust builds up and can scratch.
- Test with paper or a tomato, not on your finger.

Quick household methods that work right now
You can learn how to sharpen a knife without a sharpener using items found in most homes. Pick one method and stick to it for a few minutes. Consistency beats speed.
Ceramic mug or plate (unglazed ring)
Why it works: The unglazed bottom is a fine ceramic abrasive.
- Flip a mug or plate. Find the rough ring underneath.
- Hold the knife at 15–20 degrees. Draw the blade across the ring, heel to tip, edge leading.
- Do 8–12 strokes per side with light pressure.
- When a burr forms, do 3–5 lighter alternating strokes.
- Wipe, then strop on cardboard or a leather belt to clean the edge.
Pros: Fast, consistent, great for kitchen knives.
Cons: Can leave a matte finish. Avoid hard pressure to reduce chipping on brittle blades.
Leather belt or strop
Why it works: Leather removes the burr and polishes the apex.
- Hang a plain leather belt with the rough side out.
- Lay the knife at a low angle. Pull the blade spine-first, edge trailing.
- Do 10–20 strokes per side with very light pressure.
- Add a dab of polishing compound if you have it.
Pros: Smooth, keen edge; great finish.
Cons: Mostly hones and refines. If the blade is very dull, set the bevel first on ceramic or stone.
Newspaper or thick paper on glass
Why it works: Ink and paper fibers contain mild abrasives.
- Lay a section of newsprint on a flat glass surface.
- Hold a steady angle. Use edge-leading strokes, 10 per side.
- Finish with a few very light alternating strokes.
Pros: Easy and gentle; nice for touch-ups.
Cons: Slow on very dull knives.
Car window top edge
Why it works: The top edge of a rolled-down window is fine, hard glass.
- Roll the window down an inch to expose the top edge.
- Use light, edge-leading strokes at a steady angle.
- Alternate sides, then strop on cardboard.
Pros: Great for field use.
Cons: Be gentle; too much pressure can chip thin tips.
Sandpaper on a mousepad or book
Why it works: Abrasive grit shapes the bevel; a soft back can create a slight convex edge.
- Tape 600–1000 grit sandpaper to a mousepad or a hard book for a flatter edge.
- Use 10–15 strokes per side, edge leading, light pressure.
- Move to finer grits if available, then strop on leather.
Pros: Very effective, sets a new edge fast.
Cons: Sandpaper wears out; mind dust and grit.
Smooth stone, brick, or concrete
Why it works: The right stone acts like a coarse whetstone.
- Pick the smoothest patch you can find. Wet it to float swarf.
- Keep a steady angle. Use sweeping strokes and light pressure.
- Refine on cardboard or leather.
Pros: Works in a pinch outdoors.
Cons: Coarse finish; refine after for best results.
Tip from experience: If you crave speed, start with sandpaper or a ceramic ring. If you crave polish, end on leather. This pairing can turn a butter knife into a tomato slicer in minutes.
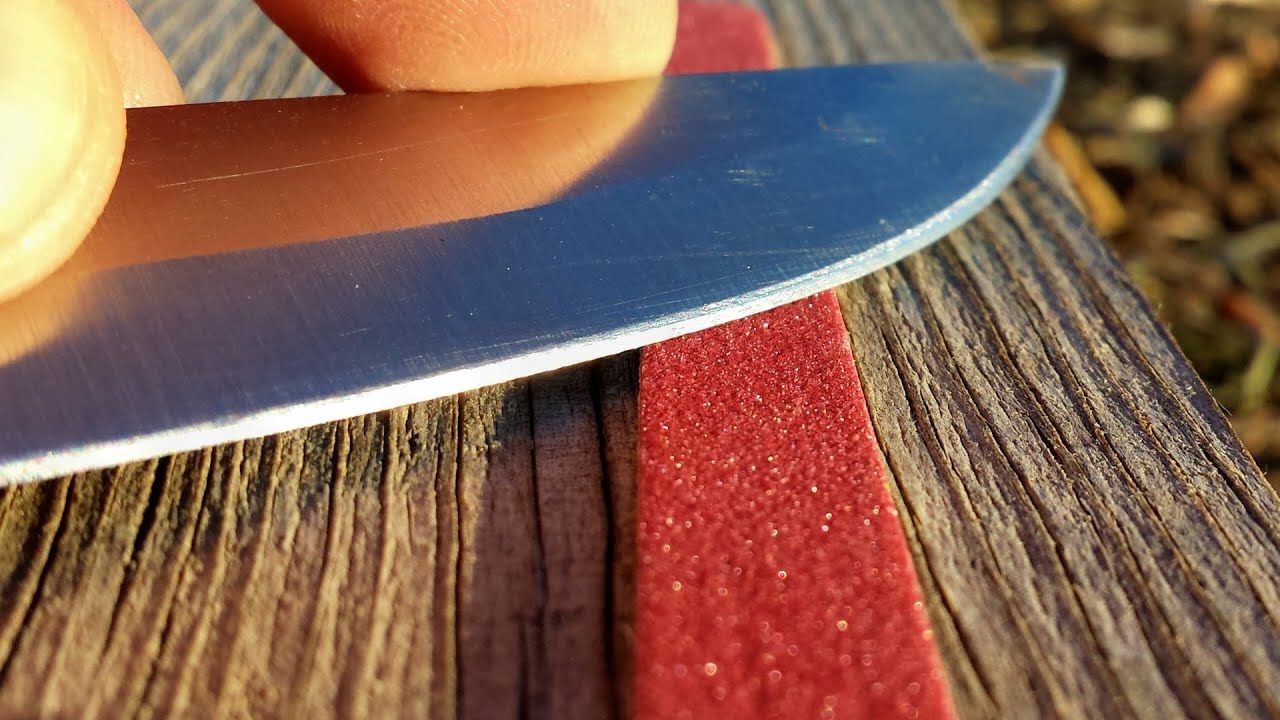
Step-by-step guide: how to sharpen a knife without a sharpener outdoors
When you are camping, you still have options. Here is a simple field routine I use.
- Flatten a smooth river stone with water. It becomes your coarse “stone.”
- Set the angle. Lock your wrist. Use edge-leading strokes, 8–12 per side.
- Feel for a burr along the edge. Once it is even, reduce pressure and alternate.
- Strop on the back of a leather belt or on firm cardboard.
- Test on a leaf, paper, or soft wood shavings. Repeat light strokes if needed.
If no stone is around, use the car window method, then strop on denim. Learning how to sharpen a knife without a sharpener in the field is about control, not force. Count strokes, stay calm, and keep it light.
Angle, pressure, and stroke patterns
Angle
- Aim for 15–20 degrees per side for most Western kitchen knives.
- For pocket knives, 18–22 degrees is tough and reliable.
- Use a coin trick. One coin stacked by the spine is close to the right angle on many blades.
Pressure
- Start light to medium. Think the weight of the blade plus a little.
- As the edge forms, go lighter. Finish with feather-light passes.
Strokes
- Use edge-leading strokes to cut steel cleanly.
- Sweep from heel to tip. Match the curve of the blade.
- Count your strokes per side. Keep them even.
- Deburr. Strop on leather, denim, or cardboard to remove wire edges.
Knowing how to sharpen a knife without a sharpener comes down to repeatable angles and gentle pressure. The surface matters less than your control.

Testing sharpness and avoiding common mistakes
Simple tests
- Paper slice. A sharp knife starts the cut without tearing.
- Tomato skin. A sharp edge bites with almost no pressure.
- Arm hair shave. A light pass should catch hair. Use caution.
Common mistakes
- Too steep an angle. You get a thick, weak edge. Lower it.
- Pressing too hard. You round the apex or chip it. Ease up.
- Skipping deburr. The edge feels sharp, then fails fast. Always strop.
- Dirty surfaces. Grit scratches and rolls edges. Wipe often.
I once rushed a camp knife on a gritty stone and it felt sharp but dulled fast. The fix was simple. I repeated light strokes, then stropped on a belt. It stayed sharp for the whole trip.
Maintenance so you sharpen less often
Care makes any edge last longer, no matter how you sharpen.
- Use wood or plastic cutting boards. Glass and stone kill edges.
- Hand wash and dry right away. No dishwashers.
- Store in a block, on a mag strip, or in edge guards.
- Touch up on a mug or leather every week. Small sessions beat big overhauls.
Building a habit around how to sharpen a knife without a sharpener keeps your tools ready. A minute here and there saves time later.

Frequently Asked Questions of how to sharpen a knife without a sharpener
What is the best household item to sharpen a knife fast?
A ceramic mug’s unglazed ring gives quick results with light pressure. Follow with a leather strop or cardboard to remove the burr and refine the edge.
Can I damage my knife using a plate or brick?
Yes, if you press hard, use a steep angle, or pick a very rough surface. Go light, keep a steady 15–20 degree angle, and always finish with a gentle strop.
How long should it take to get a dull knife sharp?
A basic kitchen knife often takes 5–10 minutes on a mug or sandpaper. Touch-ups take 2–3 minutes when you maintain the edge often.
Will newspaper really sharpen a knife?
Newspaper has mild abrasives that can refine and hone an edge. It works best as a touch-up or after a coarser step like ceramic or sandpaper.
What angle should I use if I do not have a guide?
Aim for 15–20 degrees per side, or about the height of a coin stack at the spine. Hold that angle steady and use light, even strokes.
Can I sharpen serrated knives without a sharpener?
You can hone the flat side lightly on newspaper or leather to improve bite. For a full restore, each serration needs a rod, so results will be limited.
Is stropping necessary after using a mug or stone?
Yes. Stropping removes the fragile burr and smooths the apex. It makes the edge last longer and feel cleaner through food.
Conclusion
You now know how to sharpen a knife without a sharpener using mugs, belts, paper, and even a car window. Keep the angle steady, use light strokes, form and remove the burr, and finish with a strop. These small habits turn common items into reliable edge tools.
Try one method today on your dullest kitchen knife. Time a five-minute session, test on paper, and note the difference. Want more field-ready tips like this? Subscribe for new guides, or drop your questions in the comments so we can sharpen your skills together.