The best knife sharpening technique at home is water stone sharpening with consistent angles.
If you want a clean, safe, and lasting edge, this guide is for you. I’ve sharpened hundreds of home and pro knives and tested every method. Here, I walk you through the best knife sharpening technique at home step by step, with clear tips, common mistakes to avoid, and simple checks for a razor finish. Read on to turn dull blades into precision tools you can trust every day.
What makes a knife truly sharp
Sharp means the edge is thin, even, and smooth from heel to tip. It should cut with little push and no tear. You can only get that with a steady angle and full burr removal.
Edge angle matters. Western knives like 15 to 20 degrees per side. Many Japanese knives like 12 to 15 degrees per side. Match the steel and task to the angle you choose.
Sharpening is not honing. A honing rod straightens a bent edge. Sharpening removes steel to form a new apex. If the knife slips on a tomato, it needs sharpening, not just honing.

The best knife sharpening technique at home: whetstone method explained
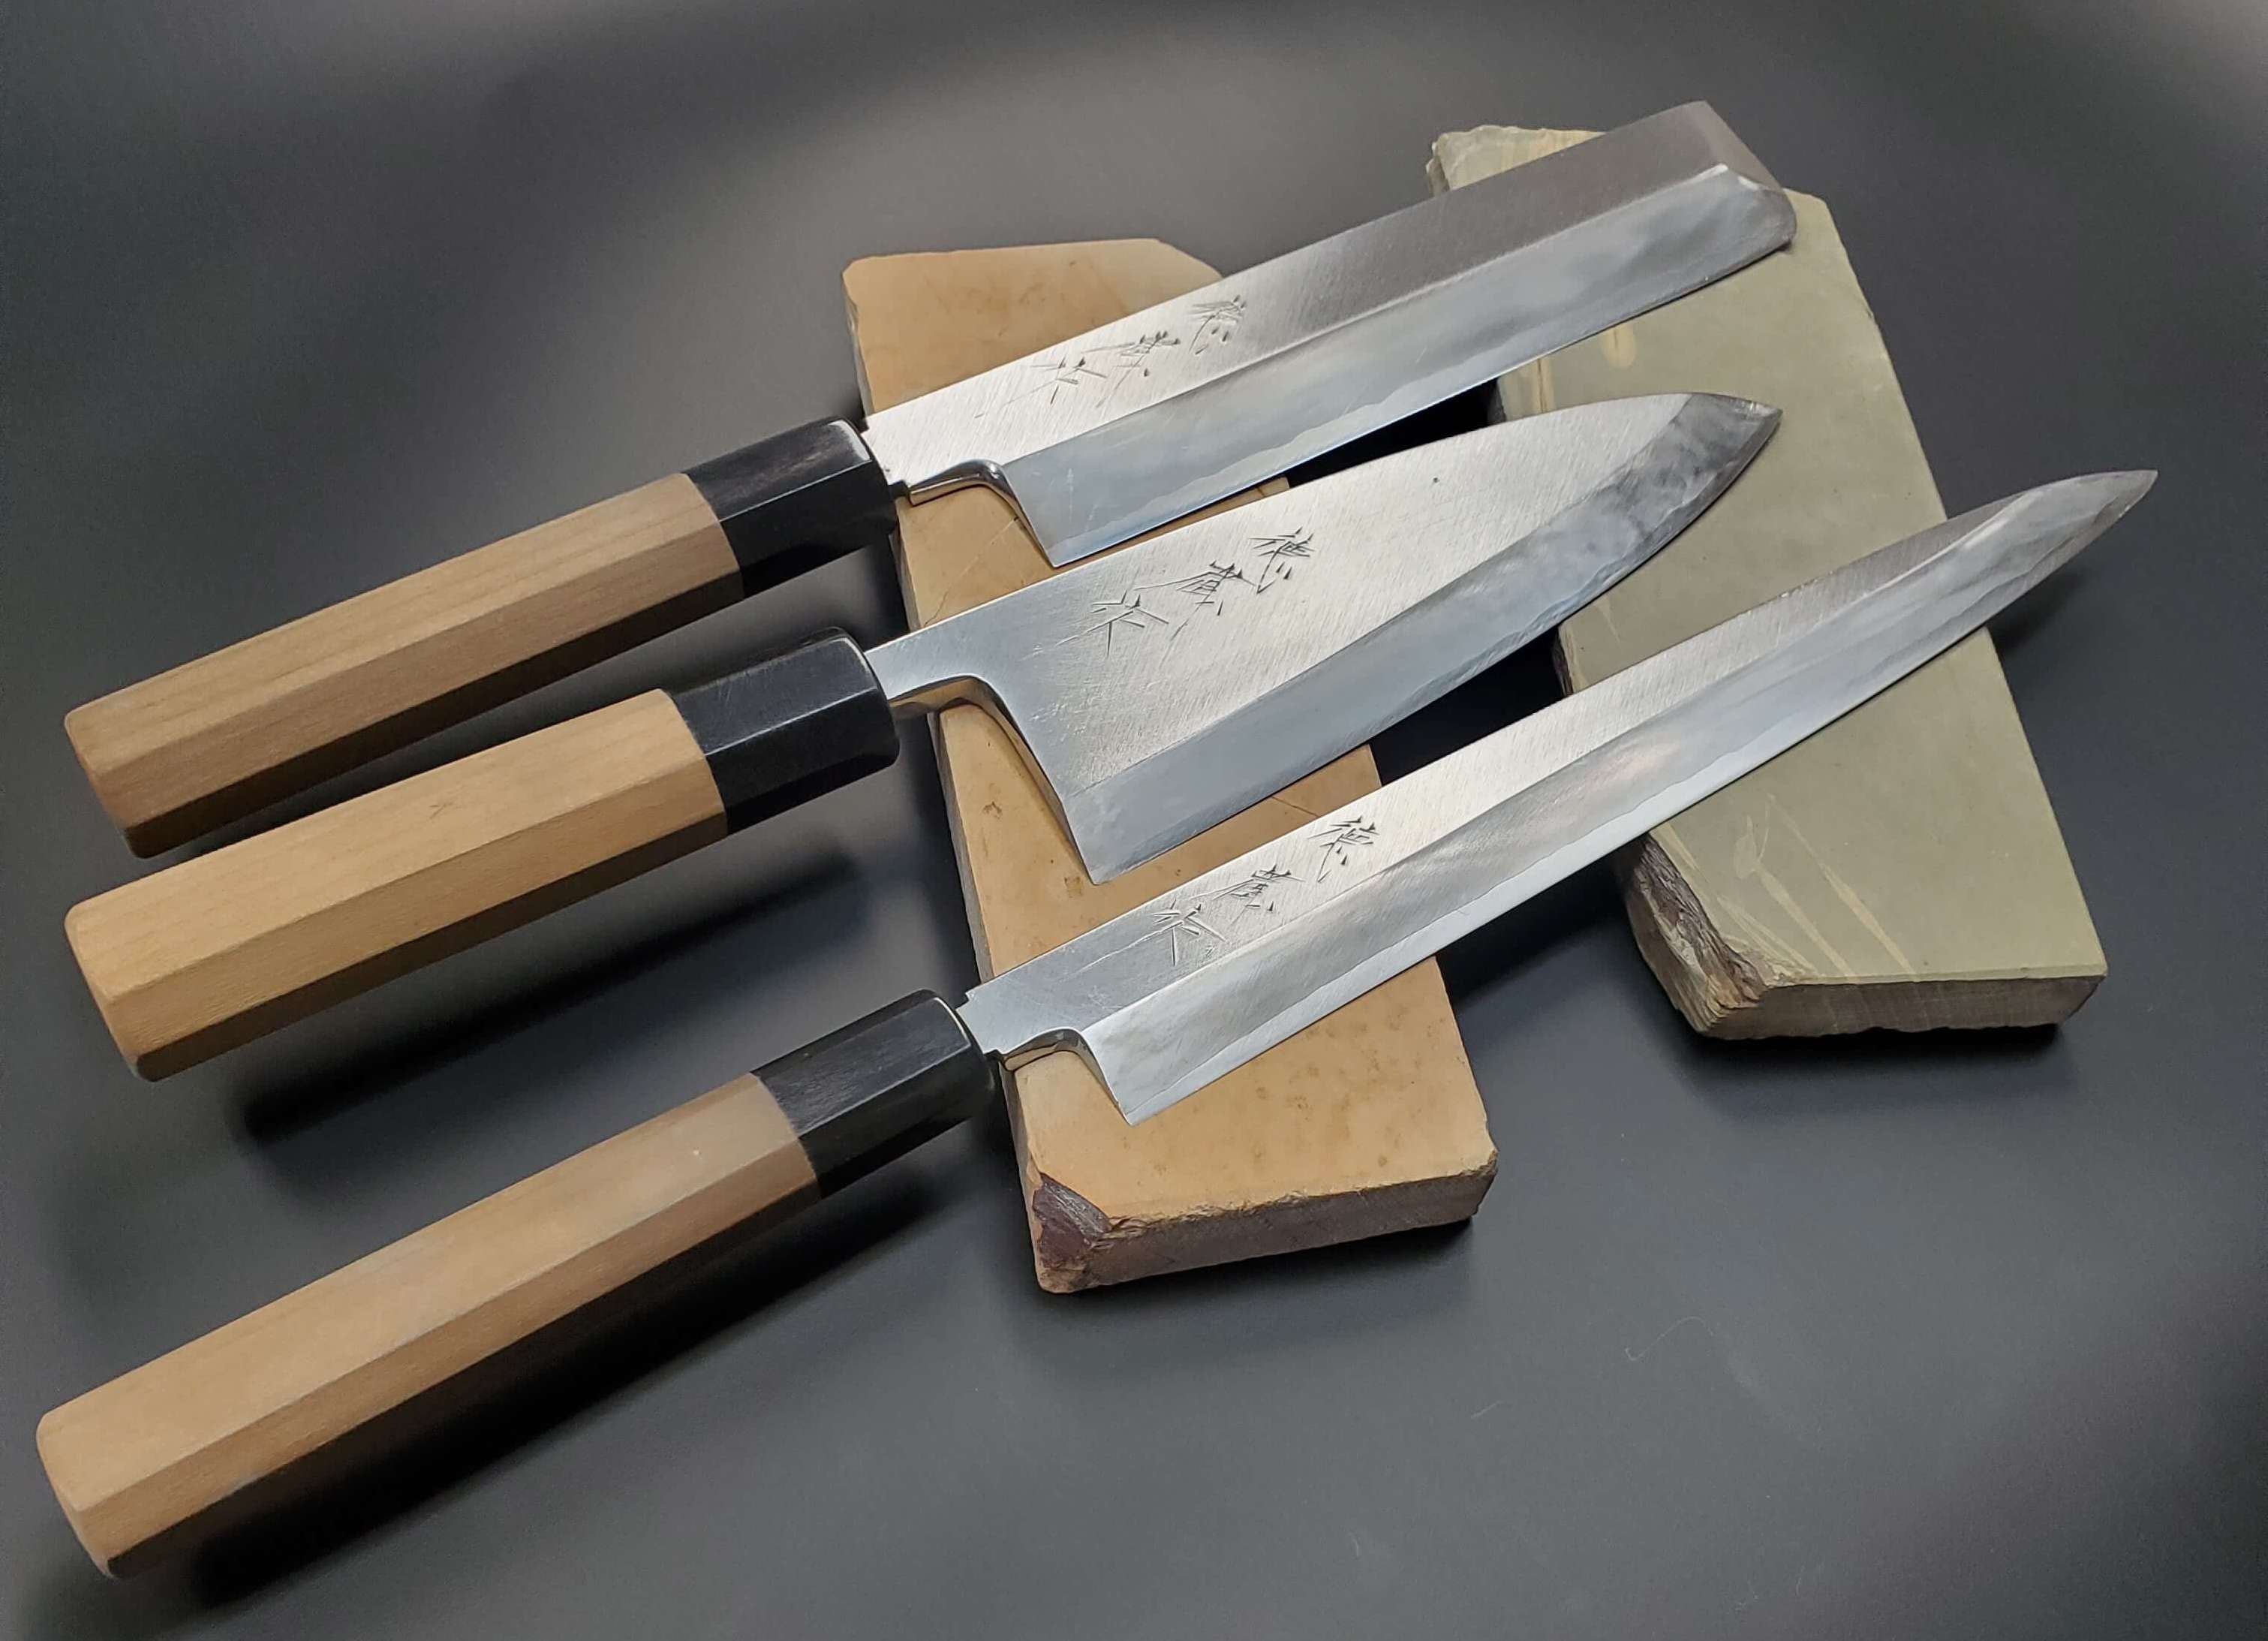
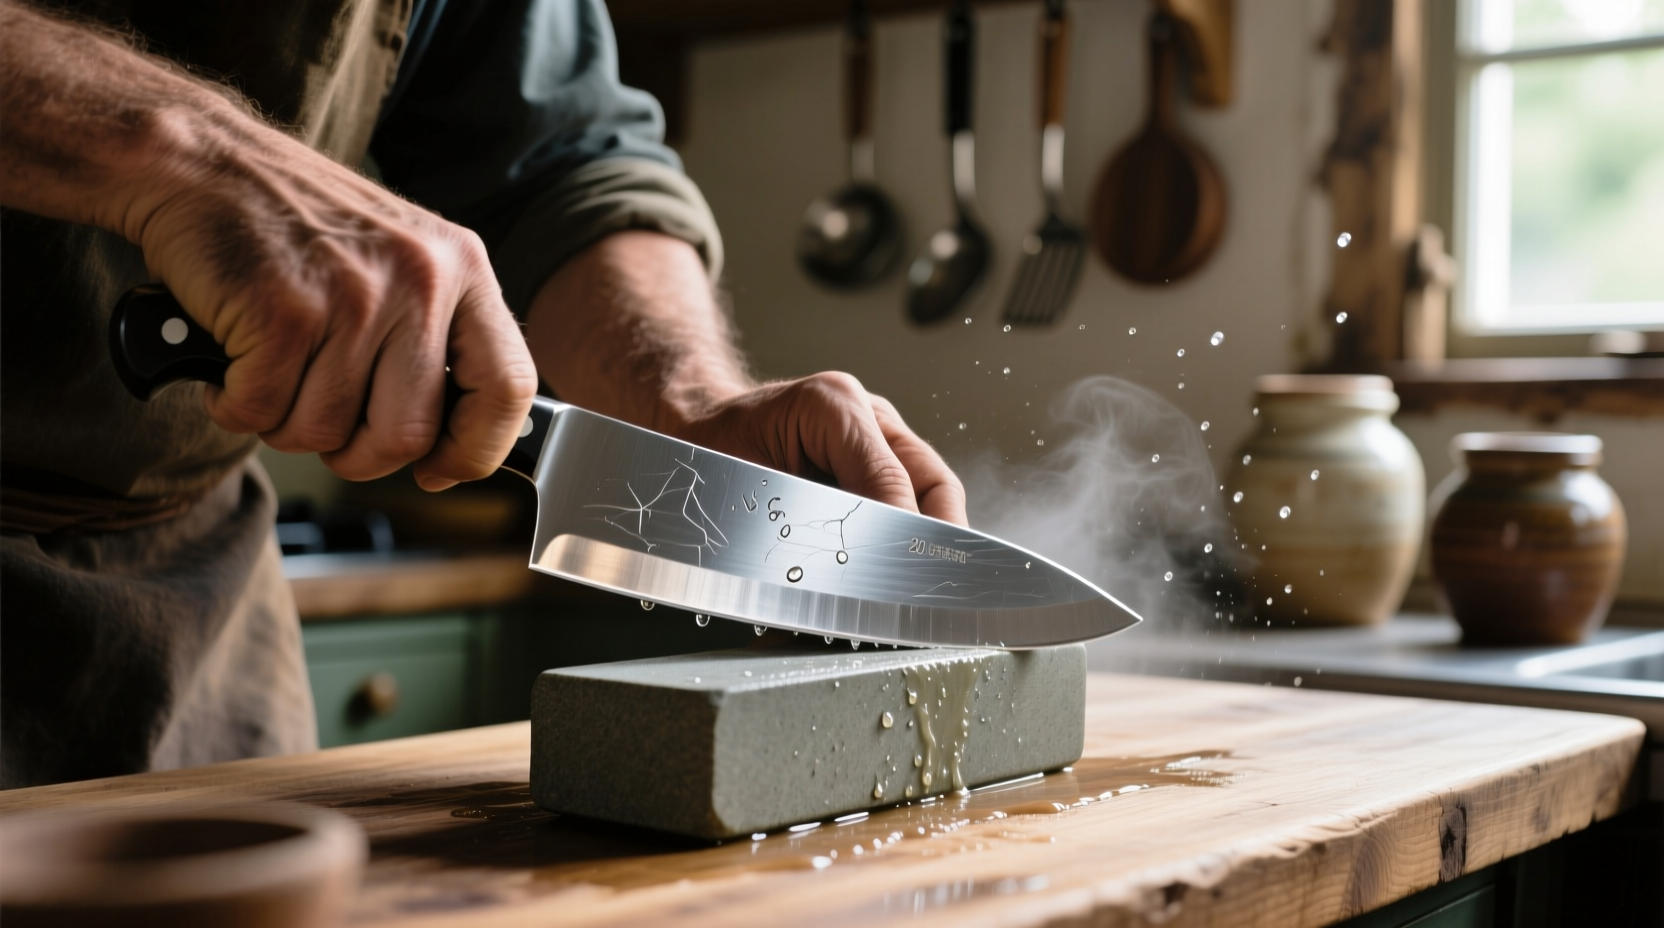
The best knife sharpening technique at home is the whetstone method. It gives you control over angle, pressure, and finish. It works for most steels and most kitchen knives.
How it works is simple. You move the blade across a flat stone at a set angle. You grind until you raise a burr along the edge. Then you flip, repeat, refine, and remove the burr. The result is a crisp apex that stays sharp.
Whetstones come in grits. Coarse grits fix chips and shape a new edge. Medium grits do the main work. Fine grits polish and boost push-cut bite. Use water, not oil, with water stones.

Tools you need for the best knife sharpening technique at home
You do not need a huge kit. Start lean and build as you learn. For the best knife sharpening technique at home, I suggest:
- A double-sided water stone: 400/1000 or 1000/3000 covers most needs.
- A stone holder or a damp towel: keeps the stone from sliding.
- A cup of water and a spray bottle: to wet and clear the stone.
- A permanent marker: to mark the edge and check angle.
- A basic angle guide (optional): helps new users lock a steady angle.
- A flattening plate or sandpaper on glass: to keep the stone flat.
- A leather strop with fine compound: for clean, fast deburring.
Tip: If budget is tight, get one 1000 grit stone first. Learn control. Then add a coarse stone for repairs and a fine stone or strop for polish.

Step-by-step: sharpen a chef’s knife on a whetstone
- Soak or splash. If your stone needs soaking, give it 10 to 15 minutes. Splash-and-go stones need only a wet surface.
- Set up. Place the stone on a holder or damp towel. Put a towel under to catch drips.
- Mark the edge. Run a marker along the bevel. This shows if your angle is right.
- Choose your angle. Start at 15 to 20 degrees per side for a Western chef’s knife.
- Coarse or medium first. If the knife is quite dull, begin at 400 to 800 grit. If it still cuts, start at 1000.
- Sharpen side A. With light to moderate pressure, sweep the edge in small sections. Tip ends need a slight roll to match the curve.
- Raise a burr. Work until you can feel a fine burr from heel to tip on the other side. This proves you reached the apex.
- Flip to side B. Repeat the same strokes and pressure. Raise a burr across the full edge.
- Refine the edge. Move to 1000 to 3000 grit. Use lighter pressure. Do even strokes.
- Deburr. Use edge-leading alternating strokes, very light. Then strop on leather 10 to 20 passes per side.
- Clean and test. Wipe the blade. Slice paper. Check the tip and heel. Touch up if needed.
The best knife sharpening technique at home works when you can form, control, and remove the burr. Take your time. Lighten pressure as you progress.

Angle control made easy at home
Keeping a steady angle is the key. A wobble gives a weak edge. Here are simple ways to lock it in:
- The marker trick. If ink stays at the shoulder, lower the angle. If ink stays near the edge, raise the angle.
- The coin trick. Stack coins on the stone’s end. Rest the spine on that height to learn the feel.
- Guide rails. Clip-on guides help at first. They add friction but teach muscle memory.
- Count strokes. Do the same number per side and per section to stay even.
I teach new users to start slow, watch the scratch pattern, and breathe steady. The best knife sharpening technique at home rewards calm, repeatable moves.
Grit progression, burr control, and pressure zones
Think in three zones of pressure:
- P3: firm pressure on coarse grit to form the edge and burr.
- P2: medium pressure on mid grit to refine the scratch pattern.
- P1: feather-light pressure on fine grit to finish and align.
Typical flows that work:
- Dull or chipped: 400 → 1000 → 3000 or 6000 → strop.
- Routine touch-up: 1000 → 3000 or 6000 → strop.
- Push-cut polish: 1000 → 3000 → 8000 → strop.
Deburring tips:
- Use short, edge-leading, alternating strokes.
- Drag the edge once, very lightly, through soft wood or a wine cork, then strop.
- Create a tiny micro-bevel with a 1 to 2 degree raise on the last passes.
With good burr control, the best knife sharpening technique at home gives a clean edge that lasts and resists wire-edge fold.
Finishing: stropping, honing rods, and when to use each
Stropping on leather with fine compound removes the last trace of burr. It adds a keen, sticky bite. Use light pressure. Keep the angle low.
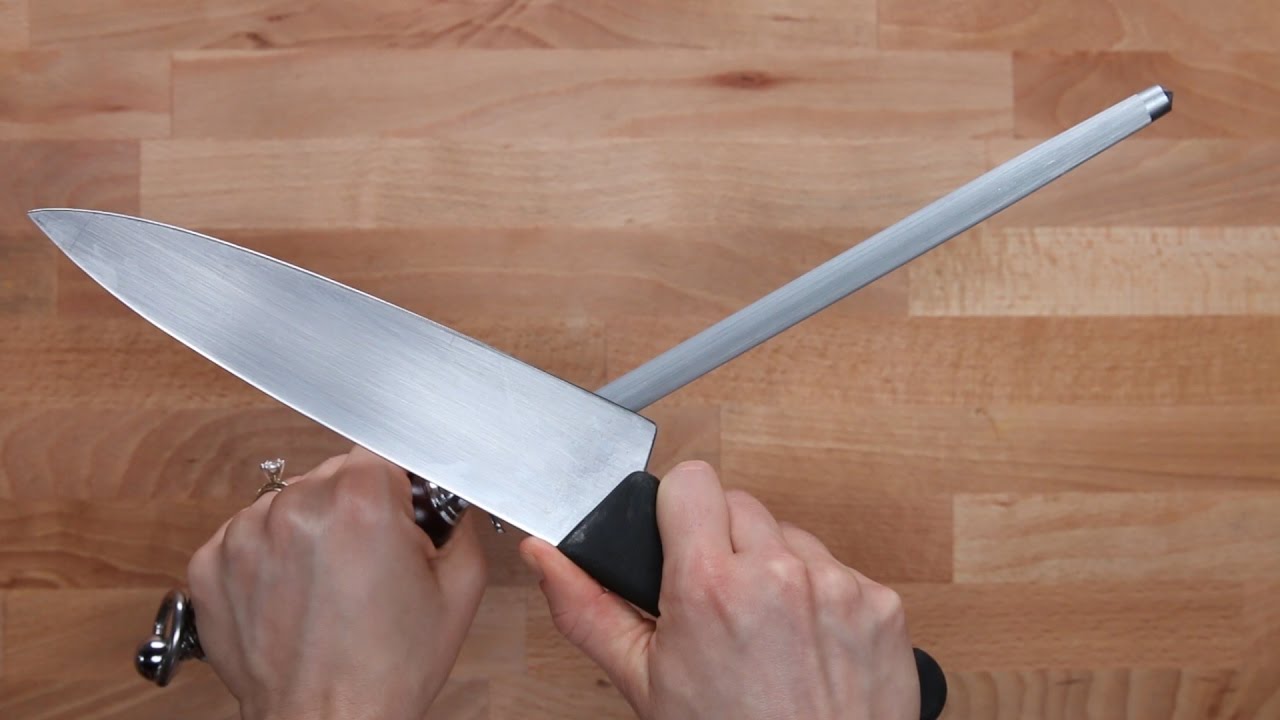
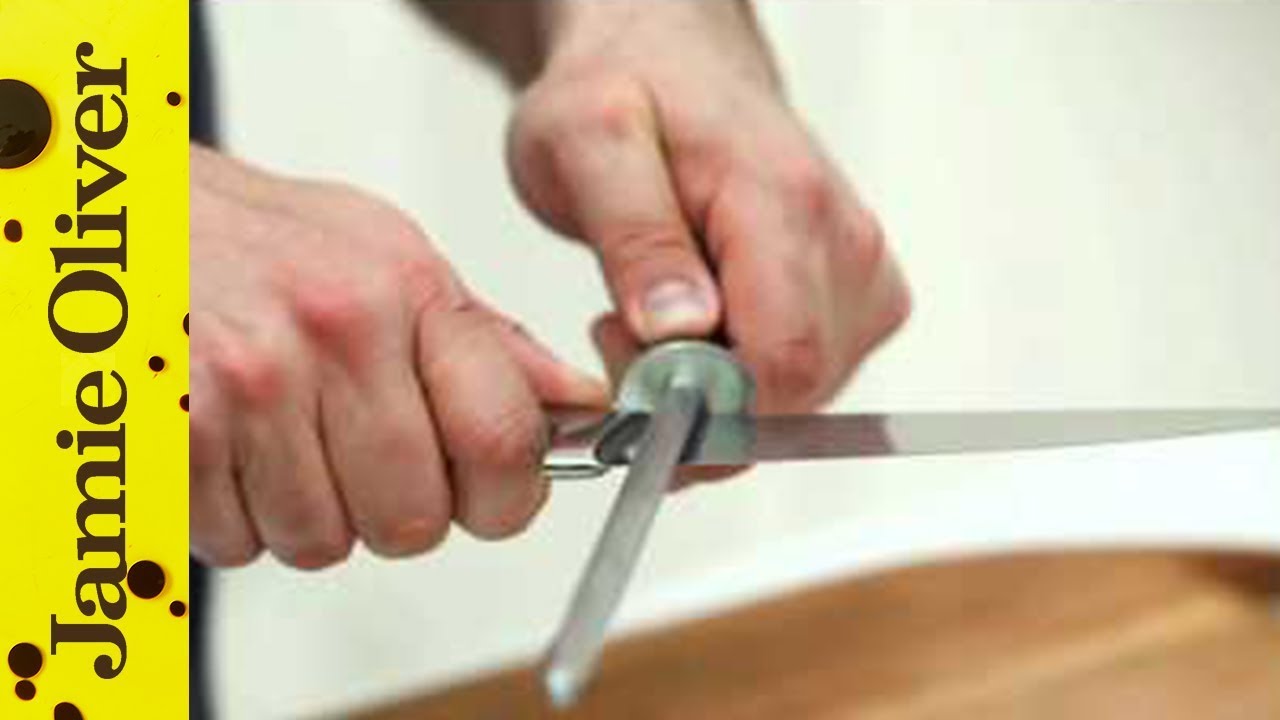
A honing rod is for edge upkeep, not full sharpening. A smooth steel or fine ceramic rod can realign the apex between stone sessions. Use gentle strokes at your set angle.
If you rely on a rod alone, the edge will grow fatigued. Stones reset the apex. The best knife sharpening technique at home blends stones for shape and a strop for final pop.
Safety, care, and stone maintenance at home
Work slow. Keep fingers above the spine. Wipe slurry often. A wet stone can get slick, so anchor your setup well.
Keep stones flat. Check often with a straightedge. Lap on a flattening plate or wet-dry paper on glass. A flat stone makes a flat edge.
Store stones dry and out of heat. Do not soak splash-and-go stones. Label grits so you do not mix them up. Safe habits protect both you and the blade.
The best knife sharpening technique at home depends on safe setup and flat stones as much as skill.
Testing sharpness and expected results
Use simple tests:
- Paper test. Slice printer paper from heel to tip. It should glide with no snag.
- Tomato or grape. The skin should part with a light touch.
- Nail bite. Very gently touch the edge to a fingernail. It should catch, not slide.
A good home edge from the best knife sharpening technique at home will push-cut paper and cleanly slice a ripe tomato. If it fails, you likely have a burr or angle drift. Go back to light deburring and strop.
Common mistakes to avoid with the best knife sharpening technique at home
- Too much pressure at the end. Heavy strokes at fine grit round the apex.
- Skipping grits. Jumping from very coarse to very fine leaves deep scratches and weak bite.
- No burr check. If you never feel a burr, you never hit the apex.
- Angle drift. Lifting the spine at the tip rounds the point.
- Over-stropping. Pressing hard on a strop can convex and dull the edge.
Each of these will mute results from the best knife sharpening technique at home. Slow down, check often, and keep pressure light near the end.
Real-world tips from my bench
I keep a 1000/3000 stone on a tray near the sink. A quick 5-minute touch-up each week beats a long fix later. I also log which knives like which angle. My thin petty loves 12 degrees. My workhorse chef’s knife stays tougher at 17 degrees.
I learned the hard way that dull spots hide at the heel and near the tip. So I pause and check both by slicing paper at those points. When I teach friends the best knife sharpening technique at home, I have them sharpen in thirds. Heel, mid, tip. It keeps focus and control high.
Finally, strop less, but smarter. Ten light passes beat fifty heavy ones. Your edge will thank you.
Frequently Asked Questions of best knife sharpening technique at home
What grit stones do I need to start?
A 1000 grit stone covers most touch-ups. Add a 400 for repairs and a 3000 to 6000 for finish as you grow.
How often should I sharpen at home?
Touch up every 1 to 2 weeks if you cook daily. Do a full sharpening when a honing rod no longer brings the edge back.
Can I use oil instead of water on my stone?
Use water on water stones. Oil can clog them. If you have oil stones, stick to oil as made.
What angle is best for a chef’s knife?
Aim for 15 to 20 degrees per side for most Western chef’s knives. Harder Japanese steel can go 12 to 15 degrees.
Do I need a strop if I already have fine stones?
A strop helps remove the last burr and adds bite. It is a fast, low-cost upgrade for home edges.
Is a pull-through sharpener okay?
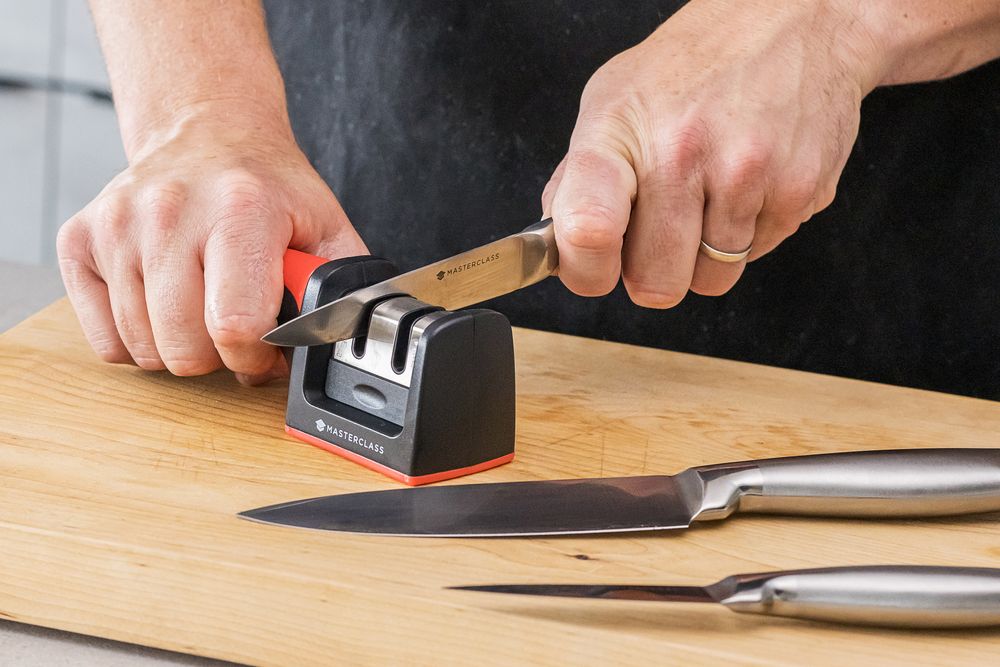
It is fast but can remove too much steel and leave a rough edge. Stones give more control and a stronger apex.
How do I know if I reached the apex?
Feel a burr along the full edge, then remove it. A clean paper slice with no snag confirms it.
Conclusion
A steady angle, a flat stone, and full burr removal are the heart of great edges. The whetstone method is the best knife sharpening technique at home because it gives you control, repeatable results, and a finish that fits your knives and your style.
Set up a simple kit, practice slow, and track what works. Give your main knife ten careful minutes this week. Then enjoy how it glides through onions and tomatoes. Want more deep dives and step-by-step guides? Subscribe, share your progress, or drop your questions in the comments.